We have over 100 varieties of international and domestic award-winning premium juice concentrate kits developed by Winexpert, Inc for winemaking. Our experienced winemakers guide you in creating your own handcrafted wine, suited to your taste.
It’s easy to get started. Simply choose a wine from our wine list and set up a personalized winemaking appointment. Watch our live WineCam or learn more about how the personalized winemaking process works here at Lakeland Winery.
Schedule a private group party, join in with other wine enthusiasts, or have a personal one-on-one winemaking session. You’re sure to have fun and meet others who enjoy personalizing their wine at Lakeland Winery.
How to Make Wine From Juice Concentrate Kits
Step 1: Starting the Process – First Week
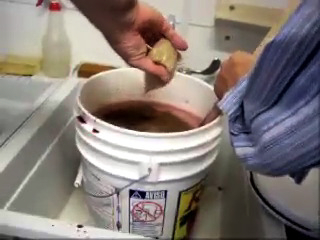
Pour an inch or two of hot water into the primary fermenting bucket. Stir the water and slowly add bentonite. This helps to clarify the water throughout the wine making process. Then add juice from your wine concentrate kit into the fermenter. Stir in elderflowers or oak if your kit has them. Using cool water, top off the fermenter to make exactly six gallons, and stir. Finally, sprinkle on yeast, cover, and insert the airlock. Set the bucket aside in the fermenting area to brew for one week.
Step 2: Racking – Second Week
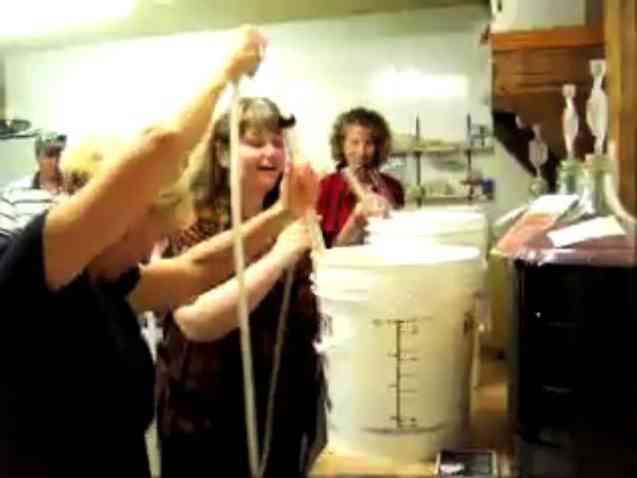
Place the primary fermenter on top of a table, and transfer (rack) the wine into a glass carboy with a siphon, leaving the sediment behind. To keep out airborne contaminants, we reattach the airlock, then return the carboy to our fermenting area to continue brewing for another week.
Step 3: Stabilizing – Third Week
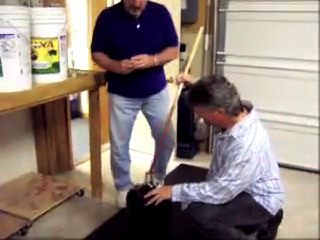
Before stopping the fermentation process, the specific gravity is checked with a hydrometer to ensure complete fermentation. We add potassium metabisulfate and potassium sorbate to the carboy and stir vigorously. These ingredients help sterilize and protect against re-fermentation after bottling. Add a natural fining agent to settle the must. Top off the carboy with cool water to make 6 gallons, stir, and reattach the airlock.
Step 4: Bottling and Labeling – Seventh Week
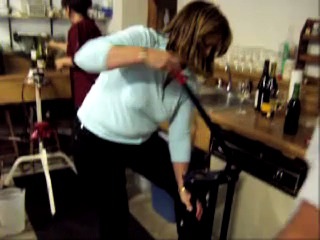
Allow 4 weeks for the grape particles and ingredients to settle, leaving the wine almost crystal clear. The wine is filtered before bottling to completely polish the wine clarity. Using our automatic bottle filler, the wine is transferred into bottles, leaving enough room for the cork. Finally, with our floor mounted bottle corker, bottles are corked and their appearance dressed up with professionally designed labels and caps. Bottles are left upright for two days to allow air pressure to be released and the cork to fully seat. When you bring your wine home, lay the bottles on their side in a cool room (approximately 50-60 degrees F) for the final aging process (at least 3 months for whites and 6 months for reds).
Step 5: Drinking!
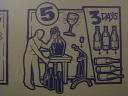
Some wines, like the Island Mist fruit flavor wines, taste fine right away, but most wines benefit greatly from some aging. Typically, red wines require 6-12 months, and white wines require 3-6 months of aging to perfection.
I think I’ve got it. I want to learn how to become a winemaker!